



How to Host a Bedazzle Night with Friends
A bedazzle night starts with a simple idea: take an everyday object, add a little sparkle, and catch up with friends while you work. Everyone has something to do, but the activity leaves plenty of room for conversation. At the end of the night, guests head home with something they made.
The format is flexible enough for a casual night in, a birthday, or a bachelorette gathering. It also takes less planning than a formal craft class. Plan your Bedazzle night with Partytrick to keep the invitation, shopping list, setup tasks, and timing in one place, then focus on making the table comfortable and the project easy to start.
What Is a Bedazzle Night?
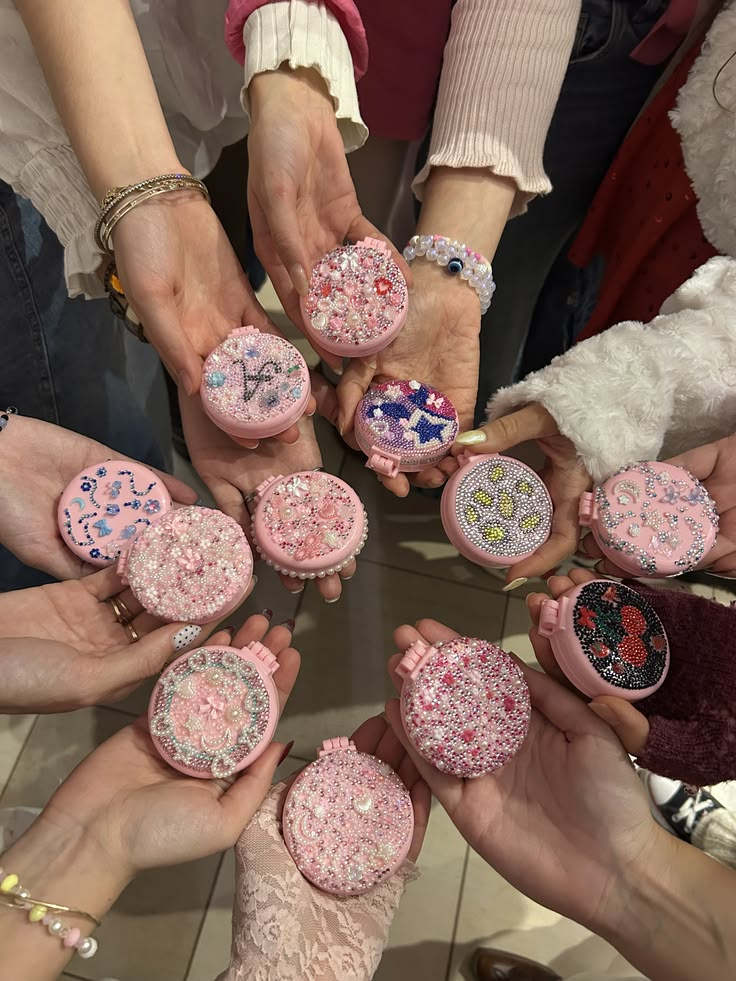
A bedazzle night is a DIY craft night centered on rhinestones, flat-back gems, and small items that guests can customize. The host sets out the supplies, and each person decorates an item they brought or picked from a few options.
No craft experience is required. Simple patterns work well, and guests can spend as much time talking as they do placing gems. That makes a bedazzle party useful for several kinds of plans: a relaxed Friday night, a birthday activity, a bachelorette warm-up before going out, or an afternoon project with friends.
If you want a broader craft-night format, use Partytrick’s cozy craft night guide to think through the guest list, setup, and pacing.
Choose What Everyone Will Bedazzle
Start by deciding who will provide the base items. If you are buying them, choose one or two projects so sizing, supplies, and costs stay manageable. If guests are bringing their own, include a few clear guidelines in the invitation.
Easy things to bedazzle include:
- Clear phone cases: Easy to personalize with initials, borders, or scattered gems. Confirm each guest’s phone model before buying cases.
- Small picture frames: A flat surface gives beginners plenty of room to test a pattern.
- Compact mirrors: Small enough to finish in one evening and useful once the adhesive has cured.
- Hair clips or claw clips: Good for a quick project, especially if guests want to wear their finished pieces later.
- Plain notebooks: The cover provides ample space for a border, monogram, or corner design.
- Sunglasses: A fun option for birthdays or bachelorette plans, as long as gems do not block the wearer’s view.
- Gift boxes or party favors: Guests can decorate the packaging, then use it to carry home a small treat or accessory.
Pro tip: Collect phone models before you shop. Add your “bring something to bedazzle” guidelines to your Partytrick invitation. That way the details live with the RSVPs instead of scattered across texts. Create your invitation for free.
For a phone case, clean and dry the outside, arrange the design before gluing, and keep gems away from camera openings, buttons, and charging areas. Most importantly, confirm that the adhesive is suitable for the case material.
Do not add gems to items that will be heated, washed often, or used for food and drinks unless the product and adhesive instructions clearly say that application is safe.
What Supplies Do You Need for a Bedazzle Party?
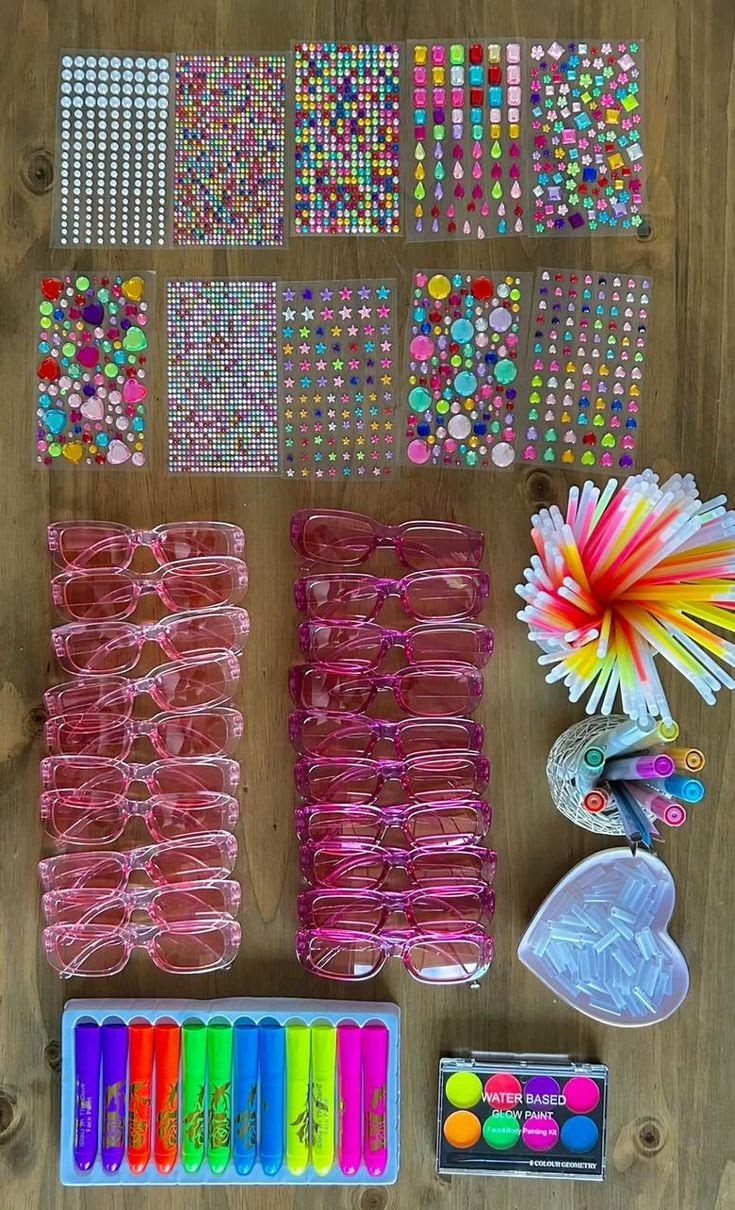
A focused supply list is better than a table crowded with options. Gather:
- Flat-back gems or rhinestones in a few sizes and colors
- Adhesive suited to each project surface
- Wax applicator pencils, gem pickers, or tweezers
- Small trays or shallow dishes for sorting gems
- A wipeable table covering
- Scrap paper for testing patterns and adhesive flow
- Cleaning wipes and paper towels
- Small bags or boxes for carrying projects home once they are ready to move
Keep costs down by choosing a limited color palette and asking guests to bring their own base item. You can also split a larger assortment of rhinestones among several guests instead of buying separate packs.
If some friends would rather string beads than place rhinestones, the Make It Super DIY Bead Kit by Super Smalls can serve as a second project without changing the table setup much.
Before the party, test the adhesive on a hidden section or sample surface. Read the ventilation, handling, and curing guidance on the label, and keep supplies away from children or pets if the instructions require it.
Set Up a Gem Bar
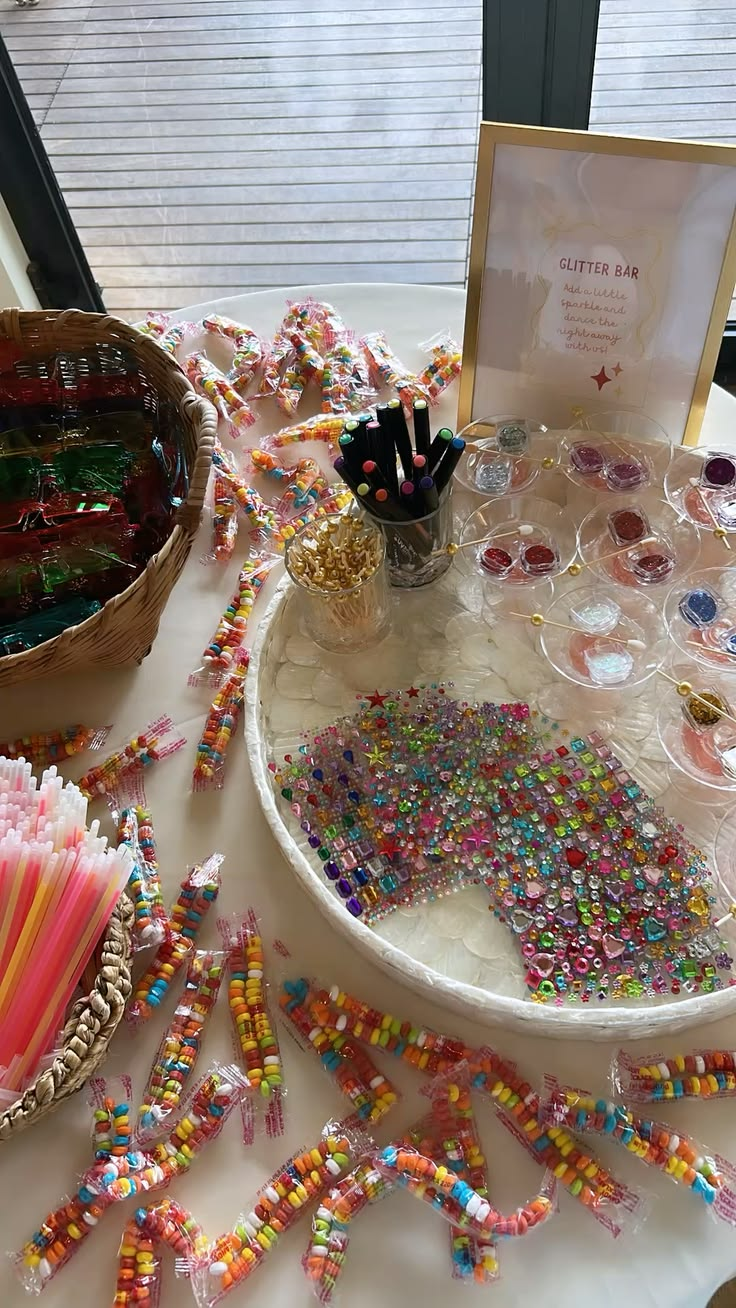
The best gem bar is easy to understand at a glance. Guests should be able to sit down, choose their materials, and start without waiting for a lesson to begin.
- Put the undecorated projects at one end of the table.
- Sort gems into shallow dishes by color, shape, or size.
- Give each guest a clear workspace with scrap paper underneath.
- Place adhesive and applicators within reach, following any safety directions on the packaging.
- Set aside a flat, labeled area where finished projects can dry undisturbed.
- Keep drinks and snacks on a separate surface to protect the supplies and projects.
Add a few photos or simple sample designs for reference. A monogram, border, or scattered pattern is enough to get ideas moving without turning the gathering into a formal class. The shape and texture of a statement accessory, such as the Beaded Starfish Bag by Simon Miller, can also inspire color combinations or placement without asking anyone to copy an intricate design.
Add every purchase and setup step to your Partytrick event plan. Separating what to buy from what to do makes it easier to notice missing basics, such as trays, table covering, or take-home boxes, before guests arrive.
Easy Bedazzle Designs for Beginners
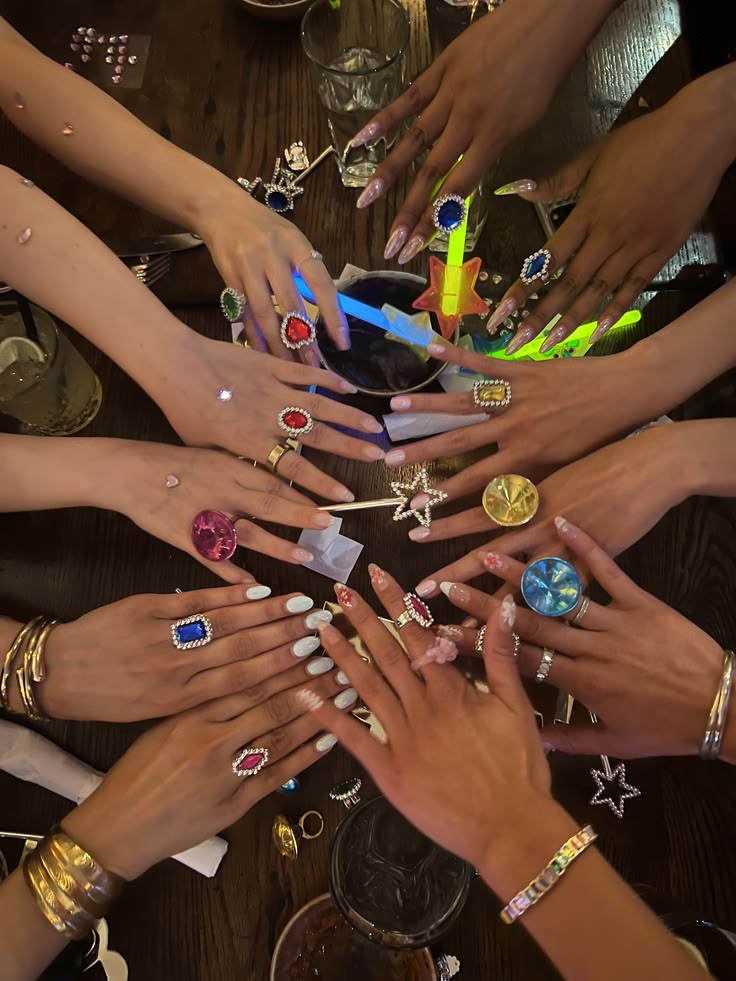
A small, clear design is easier to finish and often looks more intentional than covering the full surface. Give guests a few starting points:
- An initial or monogram
- A rhinestone border
- A scattered-gem design
- A single-color pattern
- A small heart, star, or flower
- One embellished corner or detail
Lay out the full design before applying adhesive. Guests can take a quick photo of the arrangement, then work in small sections. This helps preserve the pattern if the table gets bumped.
For anyone who wants more variety in a small format, the Star Light Accessory Fun Pack offers another accessory-focused direction for the table.
Follow the adhesive maker’s instructions for application, ventilation, drying, curing, and handling. A project may look dry on the surface before it is ready for regular use.
Plan Snacks and Drinks That Won’t Interrupt Crafting
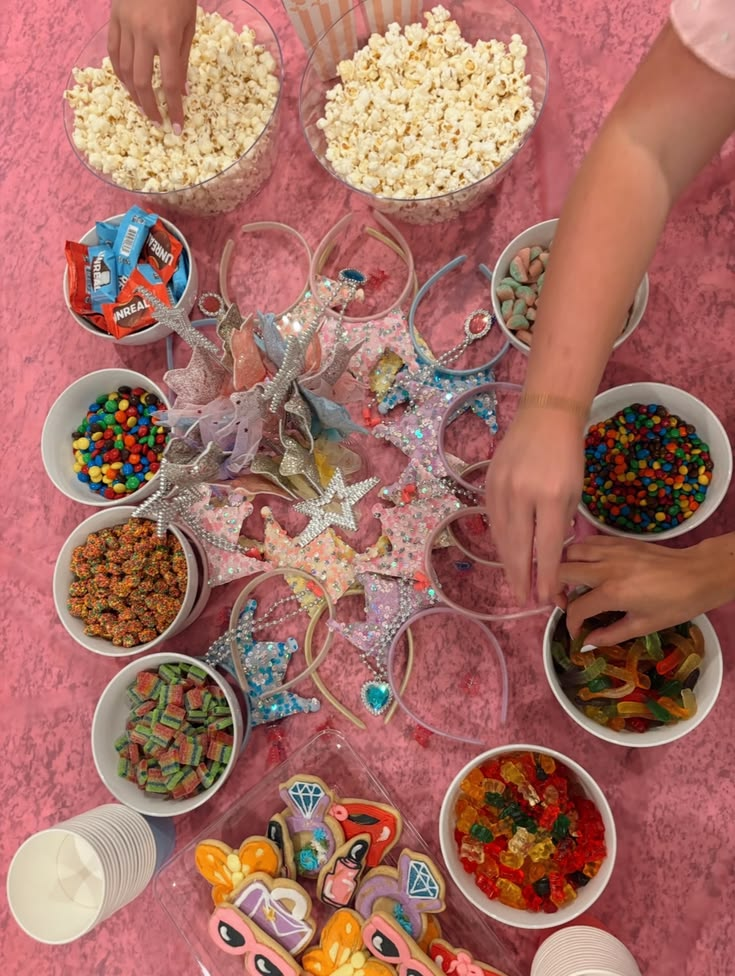
Choose food that can be eaten in a few bites and will not leave fingers oily or sticky. Good options include:
- Pretzel bites
- Fruit skewers
- Small sandwiches
- Popcorn served in individual cups
- Cookies or another easy-to-serve sweet
Put napkins near the food, and keep all plates and glasses away from the gem bar. Plan a short food break if you are serving anything messier. Guests can wash their hands before returning to their projects.
The night should still feel like a gathering, not a workshop. Start a playlist before guests arrive, serve drinks as people settle in, and let conversation set the pace. There is no need for everyone to finish at the same time.
Make It Feel Like a Party
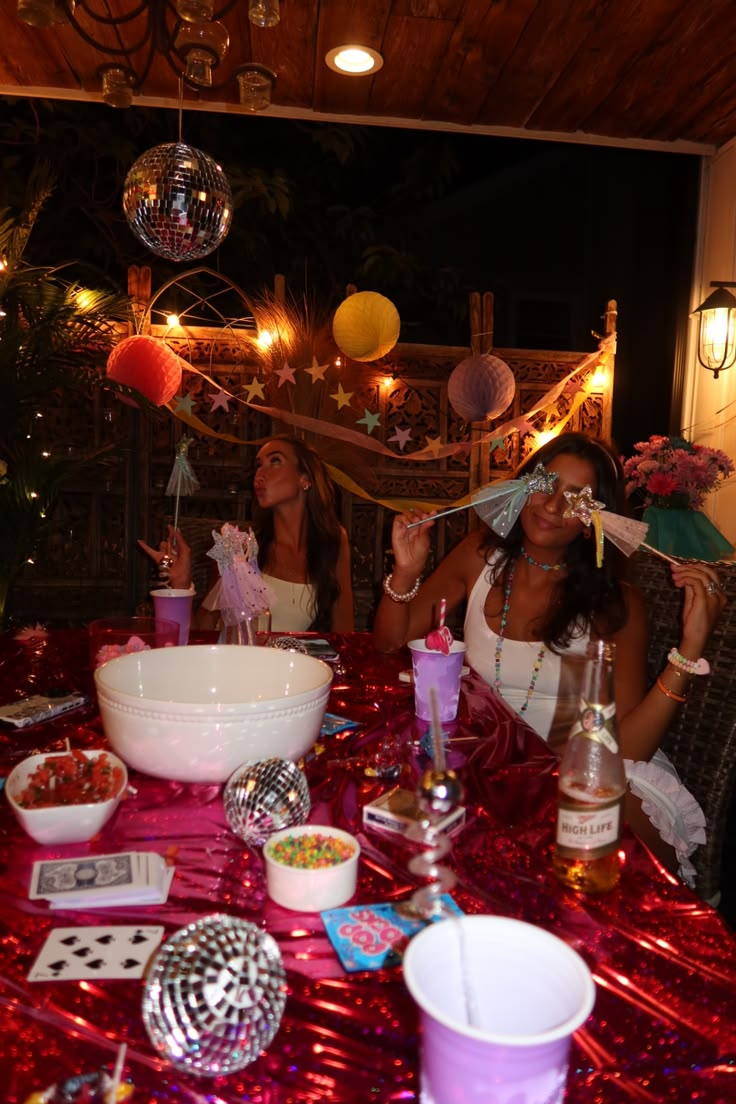
A few details can give the night a sense of occasion without creating a second project for the host:
- Send a playful invitation that asks guests to bring something to bedazzle.
- Cover the table with one colorful cloth or paper runner.
- Set out a mirror for trying on finished accessories.
- Choose one well-lit spot for photos of the finished pieces.
- End with a quick show-and-tell so everyone can share what they made.
For a birthday, the colorful Funfetti Birthday Playbook can help you carry the same cheerful palette into the rest of the gathering. For a bachelorette night, pair the craft with the Bachelorette Babes Playbook, or use these chic and fun bachelorette party ideas to plan what happens before or after crafting.
To access these playbooks and more than a hundred others, sign up for a free Partytrick account.
If you are sending guests home with a small favor, use the Tailored Frenzy Gift Wrap & Creative Papers by Bond & Grace for simple bags or boxes. One polished packaging detail is enough. You do not need a styled backdrop, custom signage, or a full theme.
A Simple Bedazzle Night Planning Timeline
1 to 2 weeks before
- Choose a date and invite friends.
- Decide if guests will bring their own items.
- Pick one or two project options if you are supplying them.
- Ask for phone models if you plan to provide cases.
- Confirm the expected guest count before buying supplies.
A few days before
- Buy gems, base items, tools, and cleanup supplies.
- Check that each adhesive works with the intended surface.
- Test a small design and note the handling and curing time.
- Plan snacks, drinks, and a playlist.
- Review the event plan for any missing purchases or setup tasks.
Day of
- Cover the table and give each guest a defined workspace.
- Sort gems and set out tools.
- Prepare a separate drying area.
- Put food and drinks on another surface.
- Keep the invitation or group chat handy for any arrival updates.
After the party
- Tell guests when projects can be moved, handled, or used, based on the adhesive instructions.
- Pack unfinished projects with enough space to protect the design.
- Share photos and save any supply notes that would help with a future craft night.
Plan Your Bedazzle Night With Partytrick
Your gems bring the sparkle. Partytrick handles everything around it.
Small details make this kind of night work: the right phone-case sizes, an adhesive that matches the surface, a drying area, and food that stays away from the craft table. Partytrick keeps your guest list, shopping list, setup tasks, and timing in one place, so none of it gets lost in the group chat.
Here’s how to get started:
- Sign up for a free Partytrick account.
- Create your gathering and set the date.
- Send invitations with your bring-an-item guidelines.
- Add your shopping list and setup tasks from the timeline above.
Start planning your bedazzle night. It's free.
Frequently Asked Questions
What should I provide for a bedazzle party?
Provide rhinestones or flat-back gems, suitable adhesive, applicators or tweezers, sorting dishes, table covering, scrap paper, cleanup supplies, and a safe place for finished pieces to dry. If you are not providing base items, tell guests what materials will work with your supplies.
What are easy things to bedazzle?
Clear phone cases, small frames, compact mirrors, hair clips, notebooks, sunglasses, and gift boxes are approachable choices. Pick items with clean, accessible surfaces, and check that the adhesive is suitable for the material.
Should guests bring their own items?
They can. This keeps costs down and lets each person choose something useful. Give guests guidance on size and material in advance, and ask them to clean the item before arriving. If you are supplying everything, limit the choice to one or two projects.
How do you set up a rhinestone craft station?
Cover the table, sort gems into shallow dishes, place tools within reach, and give each guest a clear workspace. Keep food and drinks elsewhere, and reserve a flat area where projects can dry without being moved.
How long does a bedazzled project need to dry?
Drying and curing times depend on the adhesive, the amount used, the surface, and the room conditions. Follow the exact product instructions rather than using one general time for every project.
Can you host a bedazzle party on a budget?
Yes. Ask guests to bring their own base items, choose a limited palette of gems, share tools, and serve one or two simple snacks. A focused supply list and an organized table matter more than a large assortment.
More articles


Host How I Host: Lindsay Landman on Thoughtful Hosting and Guest Comfort
Event planner Lindsay Landman shares how comfort-first choices—from flexible timing and generous self-service to personal place cards—help guests feel welcomed and remembered.
.webp)
How to Decorate for Hanukkah
Your easy guide for how to decorate your home for Hanukkah. Let it be aglow.
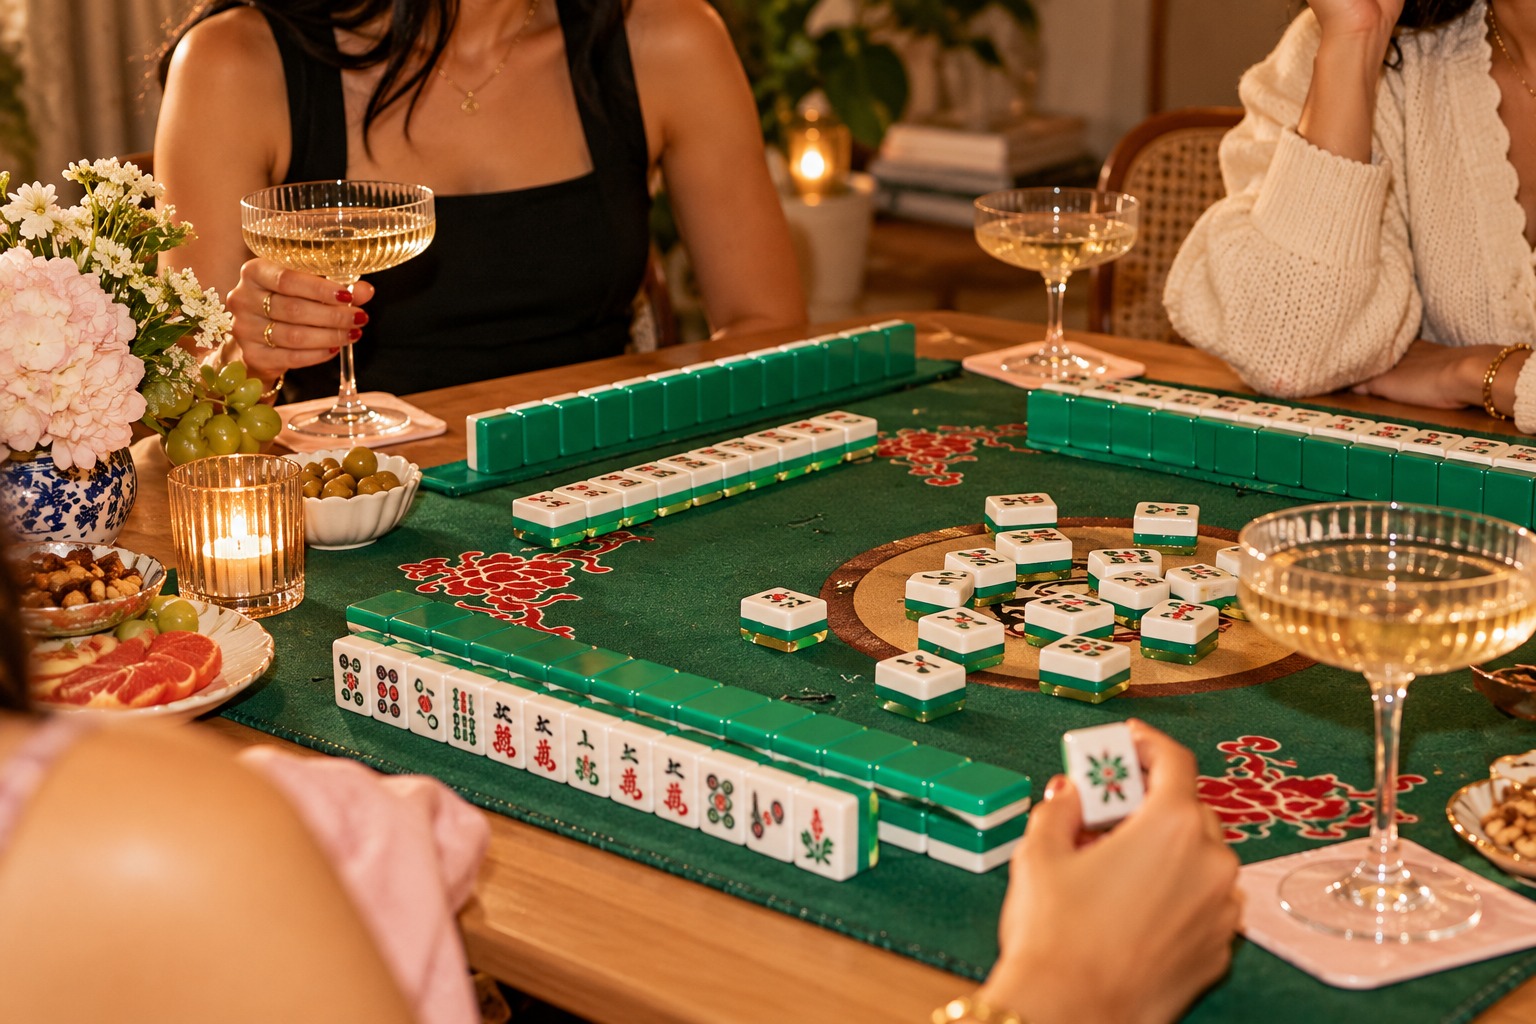
How to Host a Mahjong Night for Beginners
Planning your first Mahjong night does not require an elaborate theme or a full evening of instruction. Use this practical guide to choose a date, invite the right group, set up the table, serve easy food, and help beginners feel comfortable.
Sign up for expert tips, exclusive content, and the 411 on the latest parties—all straight to your inbox.
Your shortcut to stress-free hosting
Spend less time coordinating and more time actually connecting.